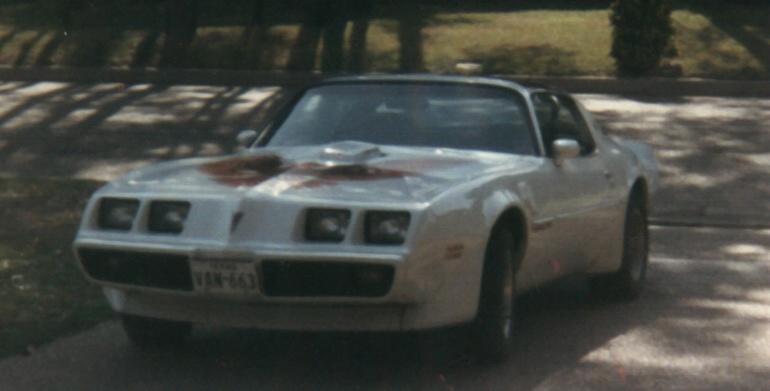
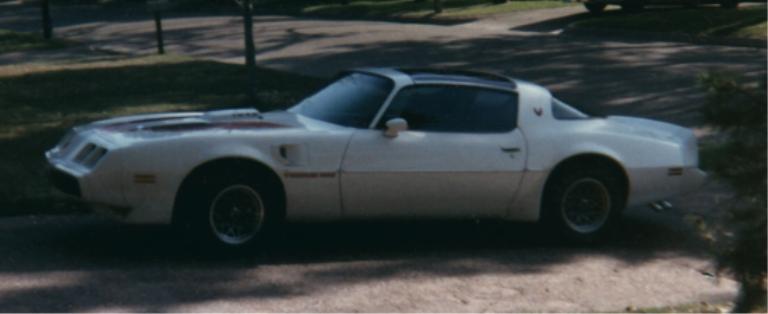
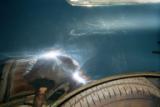
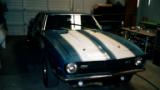
This is my car in 1985 after a good wax job, in the
shade... |
With a cheap camera, out of focus. |
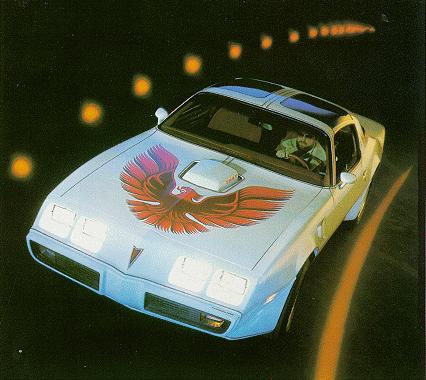
Cheesey promotional photo from Pontiac |
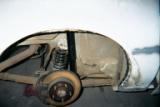
I installed new Gabriel Gas Charger shocks and helper
coil springs to relieve the sagging rear these cars suffer from. |
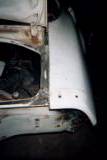
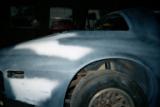
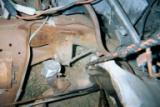
The entire passenger rear quarter panel was replaced. |
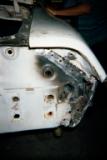
The original factory welds were drilled out of the
car's body and the replacement piece for correct positioning. |
A replacement quarter panel was cut from a white '80
turbo car. |

The front frame rails were checked for straightness. |
The drivers rear was pulled back into position. |
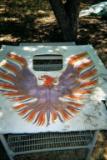
I prepared to remove the bird sticker with a handled
razor blade scraper (lower right). |
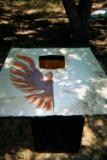
After 1 hour and 20 min. of work |
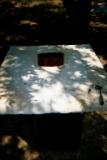
The second half took half as long once I learned how
to position the razor blade and only use 1/3 of its cutting width. |
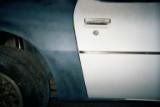
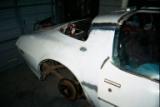
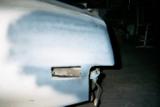
This is the new passenger quarter after being roughed
and primed. |
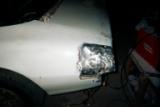
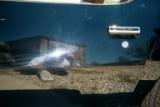
The driver tail with primer and filler still holds a
magnet. |

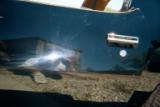
The rear quarters were primed for transportation to
Texas Trans Ams. |
The new rear quarter is ready for blocking and primer.
|
This is a picture of me, reflected in the polished
black urethane finish on the '79TA that David was restoring. |
The finish is indistinguishable from base coat w/
clear coat. |
Photos don't do it justice. |
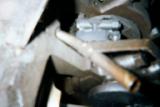
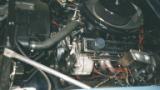
Even the oil dipstick tube is unique in the Poncho big
block. The middle part of the tube is pressed into the engine block from the bottom and
the lower part of the tube slides in to it and bolts to the base. |
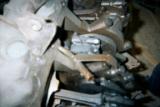
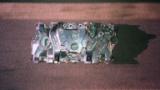
The picture is of the 400 from the 79 Formula 4 speed
that David was restoring. |
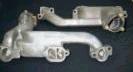
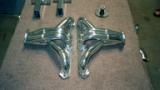
Cast iron Ram Air exhaust manifolds by Ram Air Restoration. |
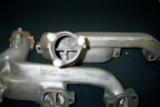
View of separated runners from each exhaust port. |

The collector has been bored out to accept 2 1/2 inch
tail pipe. |
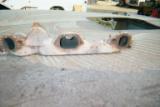
The stock exhaust manifold with the
"Siamese" middle exhaust ports. |
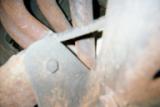
Part of the WS6 package includes
this unique lower control arm support . The
lower control arm support is not really on the control arm, but about that area on the
curved part of the sub-frame.
(Viewed from below the car.) |
This support link is small and relatively thin. It is about the
size and length of a big pencil connecting frame to frame for the inside of the curve.
(Viewed from above an empty engine compartment.)
|
|
Michael's Road Racing Camaro from Performance Coatings
|

Ceramic-Metalic coated headers and intake manifold on Michael's Camaro
|
Ceramic-Metalic pulleys, brakets and brace on Michael's Camaro
|
|
Ceramic-Metalic short headers for a Corvette 350
|
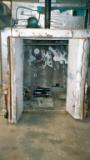
Performance Coating's oven for baking coatings at 500 degrees
|
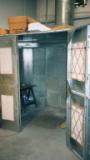
Performance Coating's spray coating booth
|
|
Silver and Blue Powder Coating by Performance Coating
|
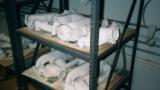
Ram Air Reproduction exhaust manifolds awaiting the polishing process or cast iron grey paint, after 3 coats of Ceramic Metalic coating and baking at 500 degrees for an hour
|
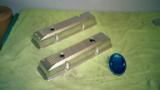
Intake Manafold coated inside and out with polished Cer-Met coating
|
|
Click to hear the Pontiac 408 with R/A Exhaust Manafolds, no tailpipes |
|
|
|
|
|
|
|
|
|
|
|
|
|


